
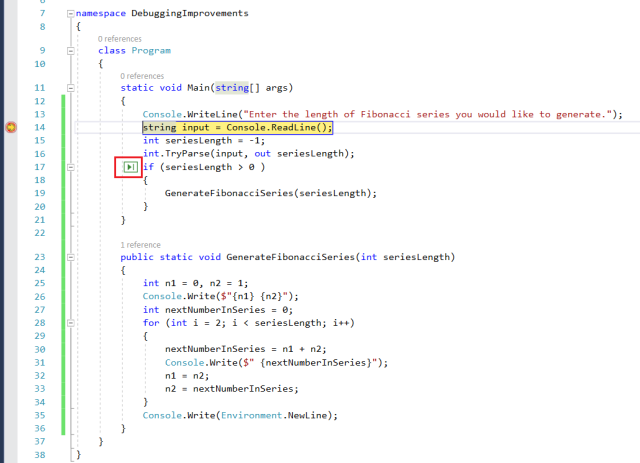
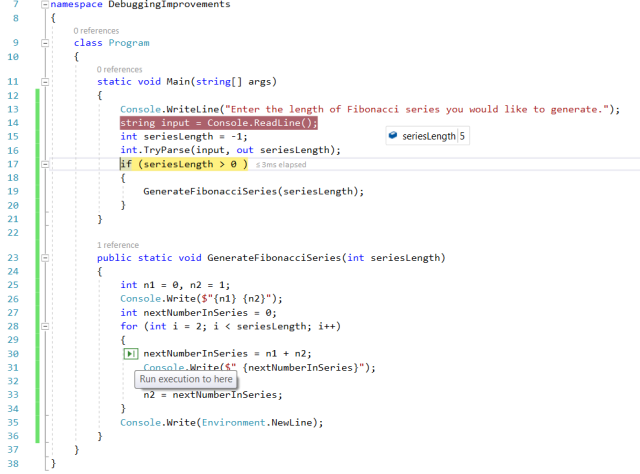
Visual Studio 2017 has provided several key improvements in Debugging experience. One of them is called “Run To Click”. “Run to cursor” has been a familiar experience for all developers for many years. This provided a convenient way of running your program to the cursor location using a short-cut such as Ctrl+F10. Of course, same could also be achieved by adding a break-point on the line of code and hitting F5. Of course adding a break-point meant that your program execution could be stopped at the same line again. However both of these approaches have their own “latencies” that Visual Studio team decided to address in Visual Studio 2017. Let’s say your are debugging your program, during that you may notice green Glyph appearing as shown in red rectangle in picture below.
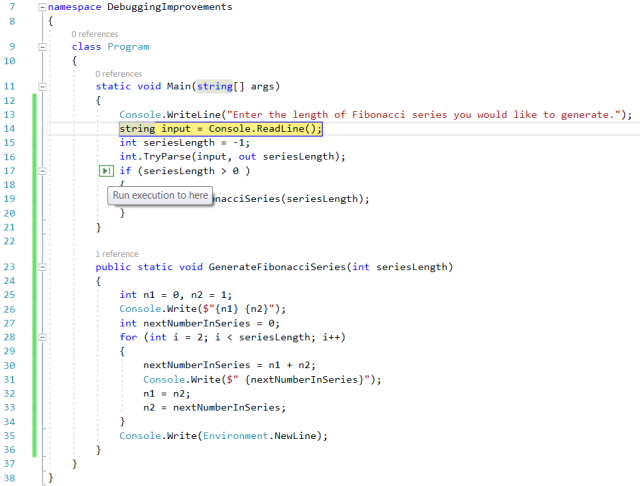
Hovering the cursor on the glyph shows “Run execution to here” tooltip as shown below.
If you click on the glyph here, the program execution will continue and stop at this line. In this example, user will be first prompted to enter the length of Fibonacci series. Let’s say user enter a number 5 here.
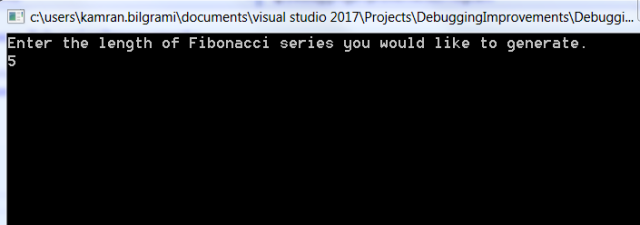
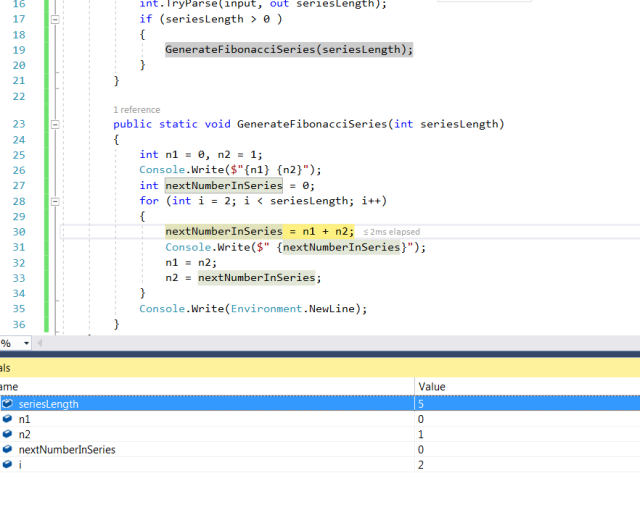
Once user hit enter key, the execution will stop on the same line.
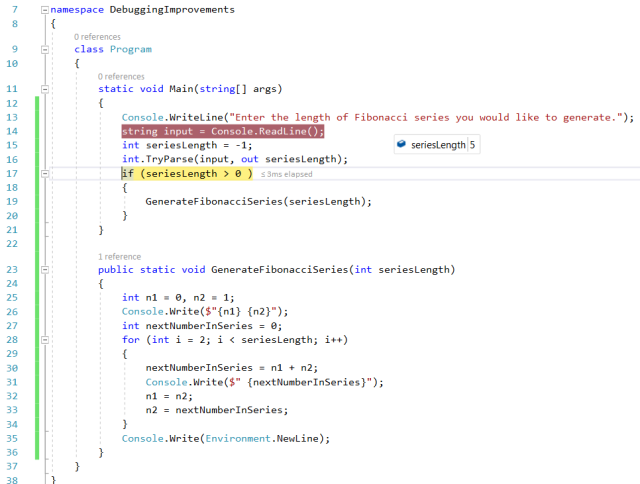
That’s great. It certainly saves some time when debugging. But wait, things can be even better. From the code, we can see that the GenerateFibonacciSeries method will be called next within the if statement. Let’s say I want to debug the loop within that method. All I need to do is to take my mouse to that line and you will see same green glyph there as shown below.
Just as the name of feature says, you just “Run to Click” and it will take you right there.
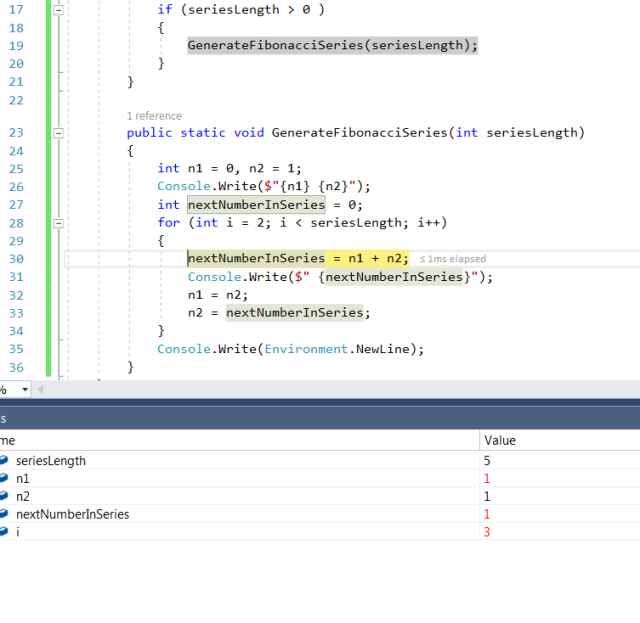
As you can see from the Local window, the program execution stopped at the first iteration in the loop. If needed, you can click on the green glyph again on same line and execution will stop on the second iteration of same loop.
Until next, happy debugging!!
